You can spend £2,000 on the right lime putty, get the lime:sand ratio down to the decimal, and still watch the mortar fail within two winters. I've seen it happen. The culprit is almost always the aggregate — the part of the mix nobody argues about, because sand feels like sand. It isn't. Matching aggregate to a historic mortar is, in my experience, 80% of the job, and it's the thing most guides skate past.
The reason is simple mechanics. Historic masonry is soft, permeable and constantly on the move. Bricks and stones expand and contract with moisture and temperature, and the mortar is supposed to absorb that movement and let water escape. A modern, hard, dense aggregate creates a mortar that fights the wall instead of yielding to it. When the brick is weaker than the joint, the brick spalls. I've pulled bricks out of a Victorian façade that looked like someone had taken a chisel to the face — all because a contractor had repointed with a strong cement-sand mix years earlier and the wall had nowhere to go but outward.
Key Takeaways
- Aggregate choice — not just binder — determines whether a repair mortar is compatible with historic masonry.
- Historic mortars typically used local, poorly graded, sub-angular sands; modern bagged sands are too clean and too uniform.
- Match the original aggregate by grading, colour and angularity before you touch the binder ratio.
- A mortar that is softer and more permeable than the surrounding masonry is the goal — always.
- Test on a small, inconspicuous patch and let it weather for a full cycle before committing.
- Crushed versus rounded sand changes both workability and final strength more than most people realise.
Why the aggregate matters more than the lime in historic mortar mixes
Ask most people what makes a historic mortar compatible and they'll talk about lime. Fair enough — lime is the headline. But the aggregate makes up between 60% and 80% of the total volume, and its properties govern how the mortar behaves once it has cured. A pure lime putty with a badly chosen sand is a bad mortar. A decent hydraulic lime with the right sand can be a very good one.
Which brings up an obvious problem: how do you know what's "right"?
The mechanics of compatibility
Compatibility, in conservation terms, means the repair mortar must be weaker, softer and more permeable than the masonry it sits against. If water gets into the wall, it should evaporate through the joint, not force its way out through the face of the brick or stone. Aggregate controls that permeability. Fine particles and a well-graded mix create a denser, less breathable mortar; a coarser, more open grading lets vapour move.
And the worst part? You often can't see the failure until it's advanced. Soft mortar erodes slowly at first, then a frost hits and the whole joint crumbles. That's why getting the aggregate right at the start matters so much.
What historic builders actually used
Here's the thing that surprises people: most pre-industrial mortars weren't carefully engineered. They were made from whatever sand was within carting distance of the site. River sand, pit sand, crushed rock, even beach sand in coastal areas. That means the aggregate in your wall is locally specific — and if you want a genuine match, you have to source something that resembles it, not something bought off a shelf.
What is the best sand for mortar mix?
The best sand for a historic mortar mix is a well-graded, sub-angular, unwashed sharp sand with a controlled fines content, sourced as close as possible to the original material. There is no single "best sand" — there's the sand that matches your wall.
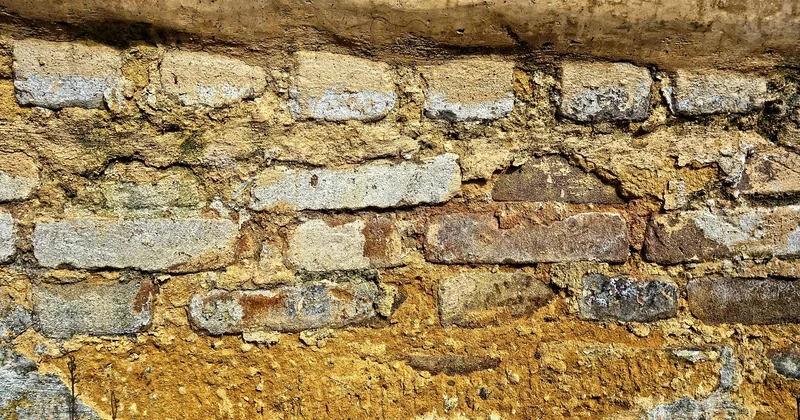
Look, I know that's an unsatisfying answer. But it's the honest one. Let me break down what actually matters.
Grading and fines
Grading is the distribution of particle sizes. A well-graded sand has a range from coarse grains down to fines. Historic mortars usually show a broader spread than modern washed, graded sand, which has had the fines stripped out to meet concrete-market specs.
- Coarse particles give the mortar its bulk and open up permeability.
- Fines (silt and clay, roughly under 0.075mm) improve workability and water retention — up to a point. Too much and the mortar gets weak and shrink-prone.
- Uniform-graded sand (all one size) is a red flag — it's a modern habit and produces a harsher, denser mix.
A rough working target for many heritage mixes is a fines fraction in the region of 5–15% by weight, but treat that as a starting point to be adjusted against the original, not a rule.
Angularity and shape
Sub-angular grains interlock and give the mortar its green strength and stability. Rounded grains (typical of river or dune sand) flow past each other and make a mortar that's easier to work but less cohesive. Neither is inherently wrong — the question is which resembles the original. I once tested a 1790s stone rubble wall where the sand turned out to be largely rounded river gravel; a modern sharp crushed sand would have looked wrong and behaved differently. The client wanted "the correct heritage sand" and I had to gently explain that the correct heritage sand was, in this case, the wrong-looking one.
How to match mortar to old mortar
Matching is a forensic exercise before it's a mixing exercise. You characterise the original, then find or blend an aggregate that gets close. Skip the characterisation and you're guessing.
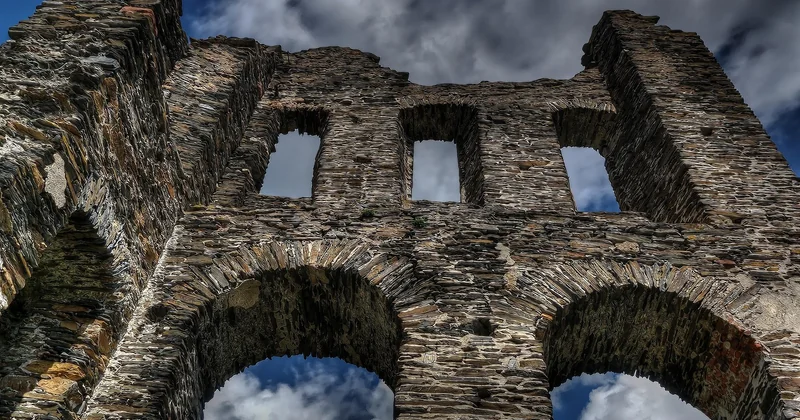
Step one: analyse the original
Take a sample of the existing mortar — from a joint, or better, from the bedding of a loose stone. Then:
- Wet sieve it or send it for laboratory grading analysis to get the particle-size distribution.
- Look at the grains under a hand lens or microscope to identify shape (rounded, sub-angular, angular), mineral type and colour of the dominant aggregate.
- Estimate the binder:aggregate ratio — either by lab analysis or by eye on a broken face. Historic mixes vary wildly; 1:1 to 1:3 by volume isn't unusual for lime-rich bedding mortar.
- Note the colour. This matters hugely for repointing, where the joint is visible and the client will notice a mismatch instantly.
Step two: source a matching aggregate
Armed with the grading and the petrography, find a sand that gets close. Options, in rough order of fidelity:
- Recover and reuse the original aggregate where possible (sieved from the old mortar itself).
- Source a local pit sand or quarry sand that resembles the original.
- Blend two or three sands to hit the grading curve.
- Use a crushed-stone sand as a closer proxy for angular historic rock types.
The site colour-matching charts that some suppliers offer are genuinely useful for repointing — they let you dial in the tone fast. But read them alongside a physical sample of the original; a chart matches a swatch, not a wall that's been weathering for two centuries.
Step three: test before you commit
Mix a small trial batch, apply it to an inconspicuous patch, and let it set. I'll admit I learned this the hard way on an early job — I mixed a full batch straight onto a south-facing wall of a 1780s stone cottage without testing. It looked fine. Three months later the colour had dried noticeably lighter than the surrounding joints. Not catastrophic, but it was wrong, and I had to live with it. Now I test every time. Every single time.
What type of mortar is used for historic restoration work?
For historic restoration, the mortar is almost always lime-based — either non-hydraulic lime (putty or lime:aggregate ready-mixed) or a natural hydraulic lime (NHL), typically NHL 2 or NHL 3.5 for softer stones and brick. Cement-rich mortars are generally avoided on heritage fabric, because they're stronger and less permeable than the masonry and cause the sort of spalling I described earlier.
The binder is only half the story, though — the aggregate choice is what turns a "lime mortar" into a compatible one or a harmful one. So how do the common systems compare, aggregate and all?
| Mortar approach | Typical aggregate | Relative permeability | Best suited to |
|---|---|---|---|
| Non-hydraulic lime putty mix | Well-graded soft sand, high fines tolerance | High | Soft stone, cob, thin joints, sheltered work |
| NHL 2 / NHL 3.5 | Sharp, sub-angular sand | Moderate–high | Brick and medium-density stone, exposed elevations |
| NHL with pozzolan | Sharp sand | Moderate | Damp or exposed conditions needing faster set |
| Cement:lime:sand (e.g. 1:1:6) | Graded sharp sand | Low | Modern masonry — generally not heritage fabric |
Type O mortar — a relatively weak cement-lime blend — sometimes gets suggested for historic work because it's softer than stronger cement types. My honest view: on genuinely historic brick or soft stone, Type O is still stiffer and less vapour-open than the lime-only approach the wall was built to accept. It's a compromise for situations where a hydrogen lime mortar isn't practical, not a first choice.
Can I use mortar repair on historic brick?
Yes — mortar repair on historic brick is not only possible but routine. What matters is which mortar repair you use, and whether its aggregate matches what's already there. A mismatched aggregate turns a repair into a problem.
What "repair" should actually mean here
Cut out the failed joint to a sensible depth (a rule of thumb is at least 1.5 to 2 times the width of the joint), clean it out, and repoint with a mortar that is softer and more permeable than the brick. On that note, brick varies enormously — a soft clay "London stock" is chalk-and-cheese compared to a hard engineering brick. Match the mortar to the weakest element, always.
The common mistakes I see, and made myself early on:
- Using a modern repair mortar straight out of a tube where the surrounding wall is soft lime — it will act as a hard plug and force failure into the brick.
- Ignoring aggregate colour, so the repair stands out on a visible elevation.
- Mixing the wrong binder ratio and getting a joint that sets too hard or crumbles too fast.
If you're in doubt about the original mix, get a sample analysed before you start mixing. It's a modest cost that saves a lot of regret. And if a supplier's online "instant match" tool tempts you into a colour-first decision, use it as a starting point only — then confirm against a real sample of your wall's mortar.
A couple of quick answers I get asked often
Is it ever okay to reuse the old aggregate? Sometimes, yes — sieving and washing the aggregate from stripped mortar can give you a near-perfect match, provided the old lime hasn't contaminated it and you can process enough volume. It's labour-intensive but genuinely worth it on high-profile repointing.
Does the aggregate really change the colour much? More than you'd expect. The sand is most of the visible surface. Swap a buff-coloured sharp sand for a grey one and the joint changes tone across the whole elevation.
Get the aggregate right, and the lime nearly takes care of itself. Get it wrong, and no amount of money spent on the binder will save the wall.